Knight Vision Inspections Inc.
Our company has personnel that has twenty plus years of experience in this industry and has extensive knowledge and experience in the maintenance of client operations, as well as inspection procedures. We started Knight Vision with the dream and idea that we could help maintain and improve each of our clients operations. Our goal is to prevent accidents and equipment outages as well as keeping a high standard of safety for all our clients. We offer an experience not just an inspection. We develop a professional relationship with our clients to meet their needs, and develop plans to help maintain and improve operations so that they are running at their full potential.
Knight Vision Inspections Inc. is ISO 9001:2015 certified. This standard is based on a number of quality management principles including a strong customer focus, the motivation and implication of top management, the process approach and continual improvement. Using ISO 9001:2015 helps ensure that clients receive consistent, high quality services.
We are a proud, loyal and dedicated team. We all share the same expectations of quality and safety and as a team we bring these qualities to every job site. Together we have accomplished above and beyond what we had ever imagined. Through our outstanding track record and our commitment to ensuring client satisfaction we continue to help clients and grow daily as a strong, unified company.
Our vision is to continue helping companies and their operations succeed. As well as show new companies through our commitment to this industry and the inspection process, that Knight Vision Inspections is the inspection company to call.
More AboutKnight Vision Inspections Inc.
Drone Inspection//Photography/Videography Drone inspection uses Unmanned Aerial Vehicles (UAVs) to remotely assess assets, replacing or supplementing dangerous, time-consuming, and expensive manual inspections. Our drones collect data through high definition cameras to inspect structures like bridges, power lines, and wind turbines, ensuring safety, improving efficiency, and reducing costs.
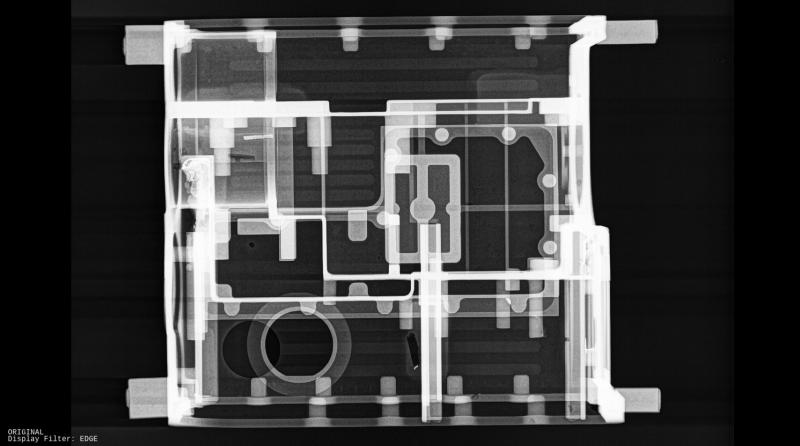
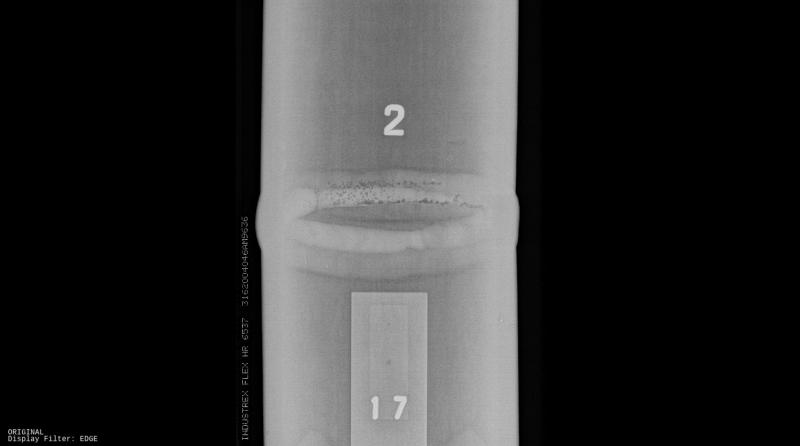
Radiography testing (RT) is a modality of non-destructive testing that uses ionizing radiation to inspect materials and components with the objective of locating and quantifying defects and degradation in material properties that would lead to the failure of engineering structures. It plays an important role in the science and technology needed to ensure product quality and reliability.
Digital radiography testing (DR/CR/DDA) takes radiography one step further and introduces a form of x-ray imaging where digital detector array sensors (DDA) are used instead of traditional photographic film; Computed radiography (CR) uses a flexible phosphor Imaging Plate to capture digital images in place of photographic film. The resulting digital images can be emailed for additional analysis and enhanced to aid in interpretation of test results. Creating digital files also eliminates risks from exposure to silver-based film or chemicals. Digital radiography takes less energy to operate, resulting in smaller exclusion zones and the elimination of RT windows. In addition to being safer this also results in faster, more informed decision making, a clear understanding of next steps and significant cost savings.
Ultrasonic testing (UT) is a family of non-destructive testing techniques based on the propagation of ultrasonic waves in the object or material tested. In most common UT applications, very short ultrasonic pulse waves with center frequencies ranging from 0.1-15 MHz, and occasionally up to 50 MHz, are transmitted into materials to detect internal flaws or to characterize materials. A common example is ultrasonic thickness measurement, which tests the thickness of the test object, for example, to monitor pipework corrosion.
Magnetic particle Inspection (MPI) / magnetic testing (MT) is a nondestructive testing (NDT) process for detecting surface and shallow subsurface discontinuities in ferromagnetic materials such as iron, nickel, cobalt, and some of their alloys. The process puts a magnetic field into the part. The piece can be magnetized by direct or indirect magnetization. Direct magnetization occurs when the electric current is passed through the test object and a magnetic field is formed in the material. Indirect magnetization occurs when no electric current is passed through the test object, but a magnetic field is applied from an outside source. The magnetic lines of force are perpendicular to the direction of the electric current, which may be either alternating current (AC) or some form of direct current (DC) (rectified AC).
Liquid penetrant testing (LPI) / penetrant testing is a non-destructive testing method used to find surface-breaking defects like cracks, porosity, and seams in non-ferrous materials such as metals, ceramics, and plastics. The process involves applying a colored or fluorescent penetrant to the surface, allowing it to seep into flaws by capillary action, and then using a developer to draw the trapped penetrant out and make the defects visible.
Vacuum box testing is a non-destructive examination used when trying to locate weld seam leaks. A vacuum box and a compressor create a high or low-pressure vacuum while a detergent solution is applied to the test area. The detergent bubbles, make leaks visible within the created pressure envelope.
Positive Material Identification (PMI) / X-Ray Fluorescence (XRF) supply our clients with fast, accurate metal alloy verification for manufacturing quality assurance with the Thermo Scientific™ Niton™ XL2 Analyzer. Featuring a standard integrated camera for accurate positioning of the analysis area, the XL2 Analyzer provides immediate, nondestructive elemental analysis of alloy materials from titanium to nickel as well as a tramp and trace element analysis. Lightweight, rugged handheld Niton XL2 Analyzers are well suited for a growing list of applications including scrap metal identification, mining and exploration, and lead screening for consumer and electronic goods.
Hardness testing (HT) is completed using the MIC 10 which uses the UCI (Ultrasonic Contact Impedance) method for efficient and accurate measurements by electronically measuring the Vickers diamond indent and then displaying the hardness value instantly. This portable hardness tester can test hard-to-reach places and can measure in any direction, making it a flexible solution for operators.
Ferrite Testing (FT) also referred to as a ferrite-scope test, is a rapid non-destructive inspection method used to measure the amount of delta ferrite on austenitic stainless steel and duplex stainless steel materials. Ensuring proper ferrite content ensures corrosion resistance, durability and crack prevention. When ferrite levels exceed the maximum allowable content amount the stainless steel welds become susceptible to hot cracking.
PhotosKnight Vision Inspections Inc.

Head Office
15 Dawn Bay
White City, Saskatchewan S4L0A1
www.knightvisioninspections.com
Austen Knight
(306) 737-5048 austen@kvindt.caAdditional Location #1
austen@kvindt.ca
White City, Saskatchewan S4L0A1
(306) 737-5048
Technical Capability Summary
Construction - Materials Testing
Non-Destructive Testing Pressure X-Ray Equipment

